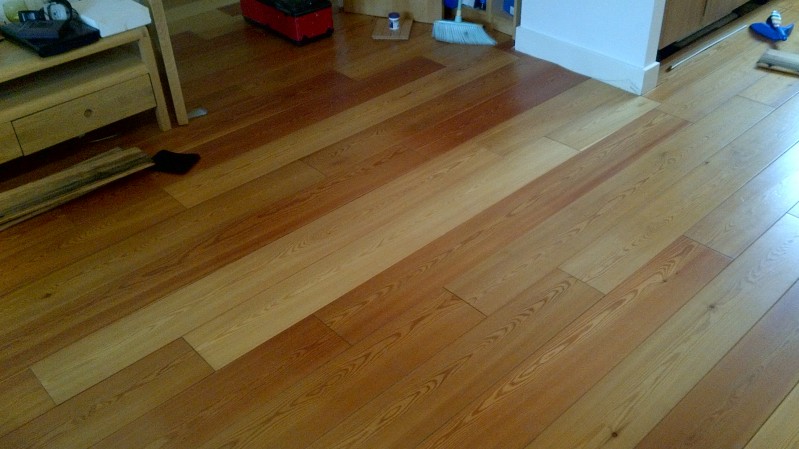
Warped floorboards
Repairing solid wood laminate flooring.
Step 1:

Leaking Inlet Hose
Find the cause and fix – In this case it was a dripping dishwasher inlet hose, the floor only got bad when the property was vacant for a month, but could have been dripping slowly for a while.
Step 2:
Allow the area time to dry out.
Step 3:
Source replacement boards, in this case there was 3 spare boards left over from installation (very Lucky indeed!)
Step 4:
Remove damaged boards – Tongues were cut from damaged boards and then boards were prised up, this was made more difficult due to the secret nails which during installation are driven through the tongue and rebated. Tongues were removed with by a variety of methods, including cutting with a Stanley knife, wood saw and where the boards were very tight the damaged boards were chiseled around the nails to release the board. Once removed the area was well hoovered to remove all chips and sawdust.

Cutting Tongue on board

Removed Floorboards
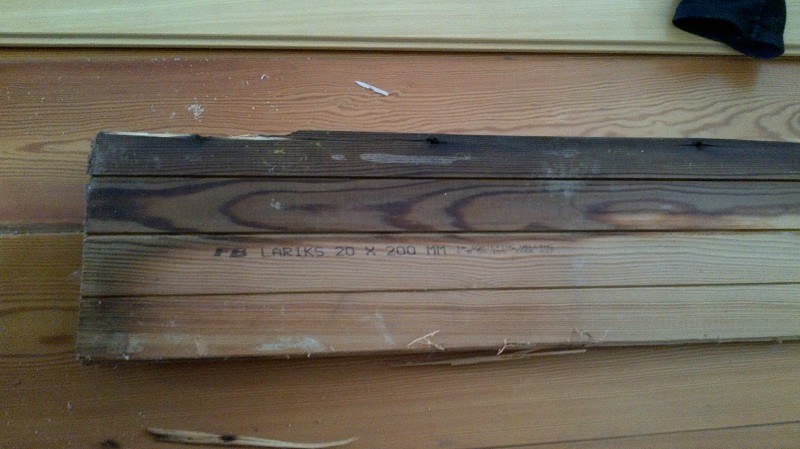
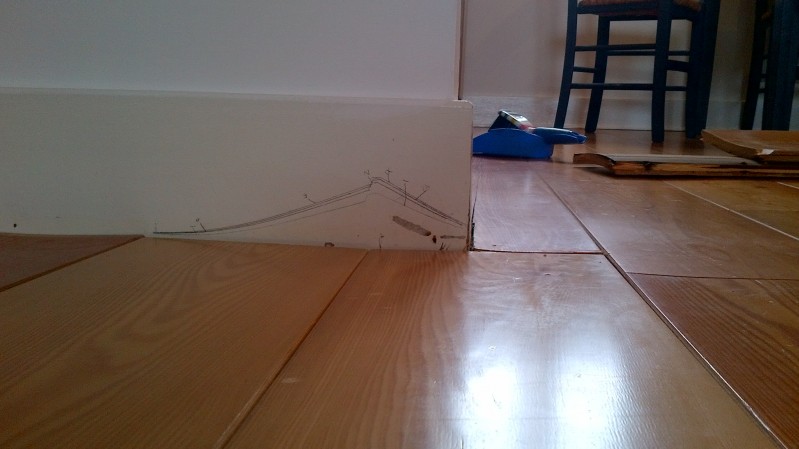
Water Damaged Floorboard
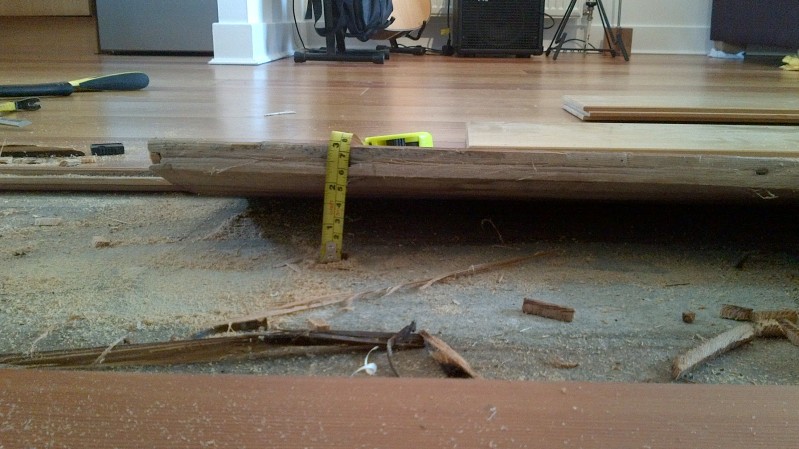
Warped Flooring Measurement

Damaged Boards Completely Removed
Step 5:
Install newboards. Two boards were complete and these board were fitted fully intact by putting in similar to how the boards looked when warped, raised in the Centre and attached to outside tongue and grooves then pushed down into place. The boards could then be slid freely into position and one of the boards had secret nailing fitted. When fitting the final two sections of board a tongue and groove needed to be created and then the new edge given a bevel with a chisel. The first board was placed intact with a flush joint to the small section of board that had been cut for removal. It was not possible to make this a tongue and groove joint but is in a minimal traffic area. The last board to go down required the underside of the groove to be removed and the edge to be planed as the existing boards in this section are permanently swollen from their original size. This board is held in place by a few oval nails and holes filled with filler.
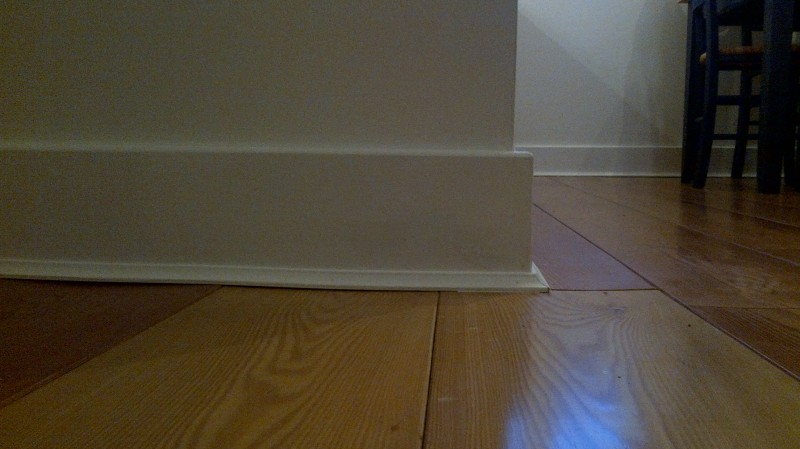
New Boards Laid

Board Ends
Warp Measurements
Step 6:
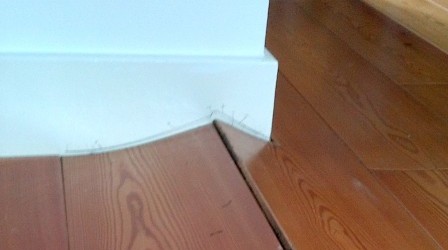
Reinstate new section of white quadrant beading.
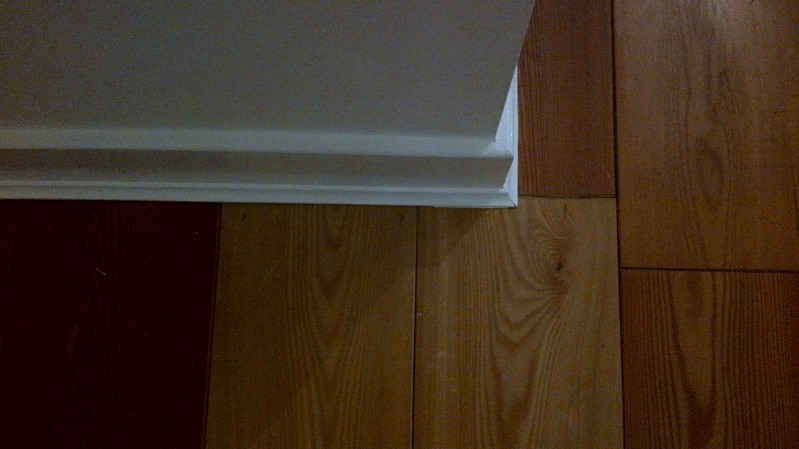
Beading on Skirting board
Painted Skirting board